If you love growing houseplants, you’ve probably realized that indoor conditions don’t always match what plants need to thrive. Many tropical plants are native to rainforests where humidity is consistently high, yet most indoor environments have dry air, especially in homes with air conditioning or heating. The solution? Create a pebble tray.
This simple yet effective method increases humidity around your plants naturally. Best of all, it costs almost nothing, requires little maintenance, and adds a stylish touch to your indoor garden setup. Let’s dive into everything you need to know about pebble trays—what they are, how they work, and how to make one that benefits your plants for years to come.
What Is a Pebble Tray?
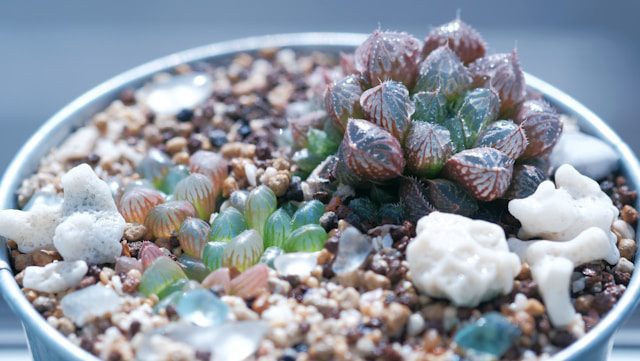
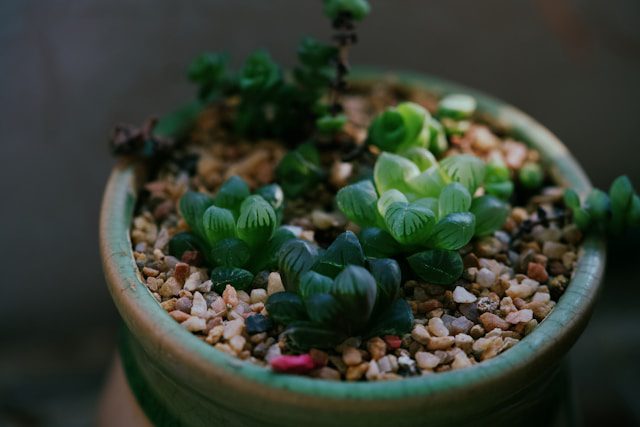
A pebble tray, also known as a humidity tray for plants, is a shallow dish or container filled with pebbles and water. The plant pot sits on top of the stones, not directly in the water. As the water evaporates, it creates a more humid microclimate around the plant.
This simple setup is particularly useful for humidity-loving plants such as orchids, calatheas, ferns, and peace lilies. Unlike misting, which provides only temporary relief, pebble trays create a steady, gentle boost in humidity around the clock. Many gardeners prefer to make a pebble tray for humidity because it’s a reliable, low-maintenance method that avoids the risk of overwatering.
Why You Should Create a Pebble Tray
Here are some key reasons why plant lovers swear by pebble trays:
1. Boosts Humidity Naturally
Indoor air often has humidity levels of 20–40%, while tropical plants prefer 50–70%. By simply adding water to a tray, you raise the moisture in the air around your plants without expensive equipment.
2. Protects Against Dry Leaf Problems
Dry tips, curling, and browning edges are signs of low humidity. When you create a pebble tray for houseplants, it reduces these stress symptoms and keeps leaves looking lush.
3. Affordable and Eco-Friendly
Unlike humidifiers, which consume electricity and require frequent cleaning, a pebble tray uses natural evaporation. It’s both budget-friendly and energy-saving.
4. Reduces Overwatering Risks
Since the plant pot sits on top of the stones, the soil never becomes waterlogged. This is especially helpful for beginners who struggle with watering balance.
5. Doubles as Home Decor
Pebble trays are not just functional, they can also be designed with colorful stones, decorative gravel, or even glass beads to complement your interior style.
5 Best Gardening light meter For Plant Care
Step-by-Step Guide: How to Create a Pebble Tray
Here’s a detailed process to help you make your own pebble tray at home:
Step 1: Gather Materials
You’ll need:
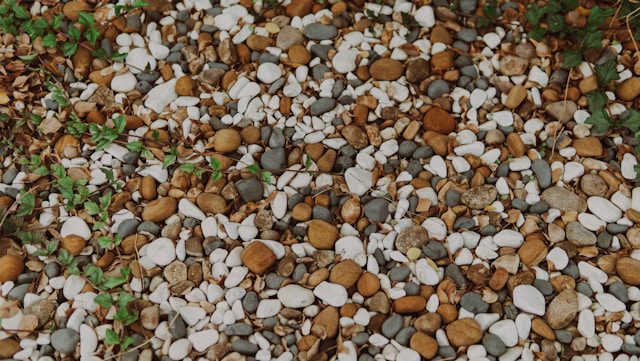
- A shallow tray, dish, or saucer (ceramic, plastic, or glass).
- Pebbles, gravel, or decorative stones.
- Fresh, clean water.
Optional: decorative sand, marbles, or glass beads to add flair.
Step 2: Fill with Pebbles
Spread a layer of stones evenly across the tray. The pebbles should be deep enough to hold your plant pot above the waterline.
Step 3: Add Water
Pour water into the tray until it just covers the bottom portion of the pebbles. Do not fill it to the top, or your plant pot might sit directly in water.
Step 4: Place the Plant on Top
Carefully set your plant pot on the stones. Make sure the drainage holes of the pot are not submerged in water.
Step 5: Maintain the Tray
Check the water level daily. Top it up when it runs low and clean the tray every 2–3 weeks to remove algae, bacteria, or mineral deposits.
How To Identify Root Rot In Succulents
Pro Tips for Using Pebble Trays
- Use natural stones rather than polished ones for better airflow.
- Group plants together on pebble trays to amplify humidity levels.
- Combine with other methods like humidifiers or misting if you have multiple tropical plants.
- Choose larger trays for greater evaporation and more consistent humidity.
- Rotate plants occasionally to ensure even exposure to the moist air.
Which Plants Benefit the Most?
Not all plants need a pebble tray, but many tropical and humidity-loving varieties thrive with extra moisture. Some examples include:
- Orchids
- Calatheas
- Boston Ferns
- Peace Lilies
- Alocasias
- Nerve Plants (Fittonias)
- Philodendrons
- Anthuriums
If you notice crispy leaf edges or constant wilting despite regular watering, your plant is likely craving more humidity—making a DIY pebble tray for houseplants the perfect fix.
Common Mistakes to Avoid
While pebble trays are easy to set up, there are some pitfalls to avoid:
- Letting the pot sit in water – Causes root rot. Always keep the pot above the waterline.
- Using too little water – If water evaporates too quickly, humidity won’t improve.
- Neglecting cleaning – Dirty trays can lead to mold, algae, or mineral buildup.
- Expecting instant results – Pebble trays increase humidity gradually, not overnight.
- Using the wrong size tray – Too small, and it won’t provide enough evaporation surface.
Pebble Tray vs. Humidifier: Which Is Better?
A common question plant owners ask is whether a pebble tray can replace a humidifier. The answer depends on your setup:
- Pebble Tray – Best for small plant collections, individual humidity-loving plants, and low-maintenance care. Eco-friendly and affordable.
- Humidifier – Better for large plant collections or homes in extremely dry climates. Provides higher and more consistent humidity but requires electricity and cleaning.
For many indoor gardeners, the ideal solution is a combination—using pebble trays for individual plants and a humidifier for larger areas.
Conclusion
Learning how to create a pebble tray is one of the easiest, most cost-effective ways to keep your houseplants healthy. By naturally increasing humidity, you’ll reduce leaf damage, improve growth, and make your indoor garden more vibrant. Whether you’re caring for orchids, calatheas, or ferns, a pebble tray provides the perfect environment for thriving plants.
So, the next time you see your plant leaves looking dull or crispy, don’t rush to buy a humidifier, start by making a DIY pebble tray for humidity. With just a shallow dish, some stones, and a little water, you can transform your plant care routine into something both practical and beautiful.
Frequently Asked Questions
1. Do pebble trays really work for plants?
Yes, pebble trays work by increasing humidity through evaporation. While they won’t dramatically change room humidity, they create a more humid microclimate directly around your plants.
2. How often should I refill a pebble tray?
Refill whenever the water level gets low, usually every few days depending on your home’s temperature and dryness.
3. Can a pebble tray replace misting?
Yes, in most cases. Pebble trays provide steady, long-lasting humidity, unlike misting which dries out quickly. However, some plant owners use both for extra moisture.
4. How big should a pebble tray be?
Ideally, the tray should be at least as wide as the plant’s foliage. A larger surface area allows more evaporation and better humidity around the plant.
5. Are pebble trays safe for all houseplants?
Yes, most houseplants can benefit from a pebble tray. Just ensure the pot’s drainage holes are not submerged in water to prevent root rot.