Some links on this Website are affiliate links, meaning we may earn a commission if you make a purchase, at no additional cost to you. Please read our full Affiliate Disclosure for more details.
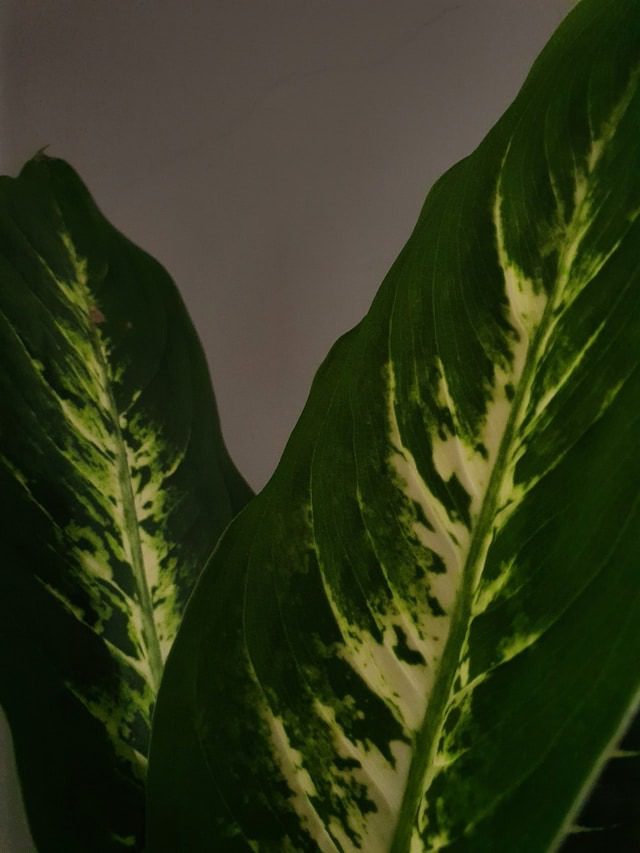
If your beautiful Dieffenbachia suddenly looks droopy, yellow, or downright sad, you’re not alone. This popular indoor plant may look tough, but it’s surprisingly sensitive to a few common care mistakes. In fact, most problems come from simple Dieffenbachia care mistakes that many plant lovers don’t even realize they’re making.
The good news? Once you understand what’s going wrong, it’s actually very easy to revive your plant and keep it thriving.
Let’s break down the biggest mistakes that can kill your Dieffenbachia and what to do instead.
Dieffenbachia Care Mistakes That Can Kill Your Plant
1. Overwatering
Among the common dieffenbachia care mistakes, overwatering is the major cause of the plant decline. While the plant enjoys consistent moisture, it cannot tolerate sitting in waterlogged soil. When the roots are constantly wet, they start to suffocate due to lack of oxygen.
This leads to root rot, which causes the plant to show signs such as yellowing leaves, drooping, and mushy stems. The more the roots rot, the fewer nutrients the plant can absorb, and it quickly starts to decline.
To avoid this problem, always allow the top 2–3 inches of soil to dry out before watering again. You should also ensure that the pot has proper drainage, and if your plant has already developed root rot, repot it into fresh, well-draining soil immediately. Reducing your watering frequency during colder months also helps because the plant grows slower and requires less moisture.
7 Easy Tips For Growing Plants Indoors
20 Top Air-Purifying Plants That Remove Toxins from Indoor Air
2. Underwatering
While overwatering is more common, underwatering Dieffenbachia can be just as harmful. When the plant goes too long without water, the leaves may become dry, crispy, and thin as the plant struggles to conserve moisture.
Prolonged underwatering causes the soil to pull away from the edges of the pot, making it harder for the plant to absorb water even when you do water it.
To fix underwatering, make sure you water the plant thoroughly until water drains from the bottom of the pot. Establish a consistent watering routine based on your climate and indoor conditions. If you’re not sure when to water, using a moisture meter or checking the soil with your finger can prevent accidental underwatering.
3. Exposing the Plant to Direct Sunlight
Dieffenbachias thrive in bright, indirect light. However, many people mistakenly place them in direct sunlight, thinking it will help them grow faster. Unfortunately, harsh sunlight can scorch the leaves, leading to brown patches, fading, or curling. Over time, this stress weakens the plant and can even cause the leaves to fall off.
The best place for a Dieffenbachia is near a window where it receives plenty of light but not direct sun rays. If your windows get strong afternoon sun, use sheer curtains to filter the light. You can also use artificial grow lights if natural light is limited in your home.
What Causes Root Rot In Orchids?
4. Leaving the Plant in Deep Shade for Too Long
Although Dieffenbachia can tolerate lower light than some houseplants, prolonged low-light conditions weaken the plant significantly. When the plant doesn’t receive enough light, it becomes leggy and stretched as it tries to reach for a better light source. The leaves may lose their vibrant color, growth slows dramatically, and the overall plant structure becomes weak and droopy.
To correct this, move your Dieffenbachia to a brighter location where it can receive indirect sunlight throughout the day. Rotating the plant every week ensures even growth, and if light in your home is consistently low, a small grow light can make a big difference.
5. Not Providing Enough Humidity
Dieffenbachia is a tropical plant that naturally thrives in warm, humid environments. When kept in dry indoor air (especially in air-conditioned or heated rooms), it may develop brown leaf tips, curled leaves, or general dryness. Low humidity stresses the plant, making it more vulnerable to pests and slowed growth.
You can increase humidity around your Dieffenbachia by using a humidifier or placing the pot on a pebble tray filled with water (without letting the pot sit directly in the water). Grouping your plants together also helps create a more humid microclimate.
6. Growing the Plant in Poor or Heavy Soil
The soil you use has a huge impact on the health of your Dieffenbachia. Heavy, compacted, or poorly draining soil traps water and leads to root rot, even if you’re watering correctly. Dense soil also restricts root growth and limits airflow underground—both of which the plant needs for healthy development.
A well-draining soil mix is ideal. A balanced mixture of potting soil, perlite, and coco coir or peat moss ensures proper air circulation and moisture retention without waterlogging the roots. If your current soil feels compacted or stays wet for too long, it’s time to repot.
7. Overfertilizing the Plant
Many plant owners assume that more fertilizer means faster growth, but with Dieffenbachia, this can backfire quickly. Overfertilizing damages the roots and causes chemical burn, leading to brown leaf tips, yellowing, or sudden leaf drop. Excess salts from fertilizer can also build up on top of the soil as a white crust.
To avoid this, fertilize only once a month during the growing season (spring and summer) using a balanced liquid fertilizer diluted to half strength. Avoid feeding the plant during winter because its growth slows down.
8. Exposing the Plant to Drafts or Sudden Temperature Changes
Dieffenbachia does best in warm, stable temperatures. Cold drafts, strong winds, or sudden temperature fluctuations can stress the plant and cause drooping, curling leaves, or stunted growth. Placing the plant too close to air conditioners, heaters, or open windows is a common but easily overlooked dieffenbachia care mistake.
Keep your Dieffenbachia in a room with temperatures between 18–29°C (65–85°F). Avoid placing it near vents, doors, or areas with dramatic temperature changes.
9. Forgetting to Repot a Root-Bound Plant
As your Dieffenbachia grows, its roots expand and eventually fill the pot. If the plant becomes root-bound, the roots may circle tightly around the pot, limiting the plant’s ability to absorb water and nutrients. You may notice the soil drying out faster than usual, roots growing out of drainage holes, or stunted growth.
Repotting every 1–2 years into a slightly larger pot gives the roots space to grow and supports healthier, stronger foliage.
10. Ignoring Pest Infestations
Pests like spider mites, aphids, and mealybugs can silently damage your Dieffenbachia without you realizing it until the plant starts declining. These pests suck the sap from the leaves, causing yellowing, speckling, leaf drop, and slowed growth. Over time, a severe infestation can weaken the plant significantly.
It’s important to check the undersides of the leaves regularly. If you spot pests, treat the plant with neem oil, insecticidal soap, or a cotton swab dipped in rubbing alcohol, especially for mealybugs. Regular monitoring prevents widespread damage.
Frequently Asked Questions
1. Why is my Dieffenbachia drooping?
Drooping can be caused by overwatering, underwatering, low humidity, or sudden temperature changes. Check the soil moisture first—it’s the most common cause.
2. Why are my Dieffenbachia leaves turning yellow?
Yellow leaves often result from overwatering, poor drainage, low light, or fertilizer buildup. Adjusting these factors usually helps the plant recover.
3. How often should I water a Dieffenbachia?
Water when the top 2–3 inches of soil feel dry. Depending on your environment, this is typically once every 7–10 days.
4. What kind of light does Dieffenbachia need?
It prefers bright, indirect light. Direct sun burns the leaves, while very low light slows its growth and makes it leggy.
5. How do I revive a dying Dieffenbachia?
Check for root rot, improve drainage, adjust watering, provide indirect light, and remove any damaged leaves. Repotting into fresh soil may also help.