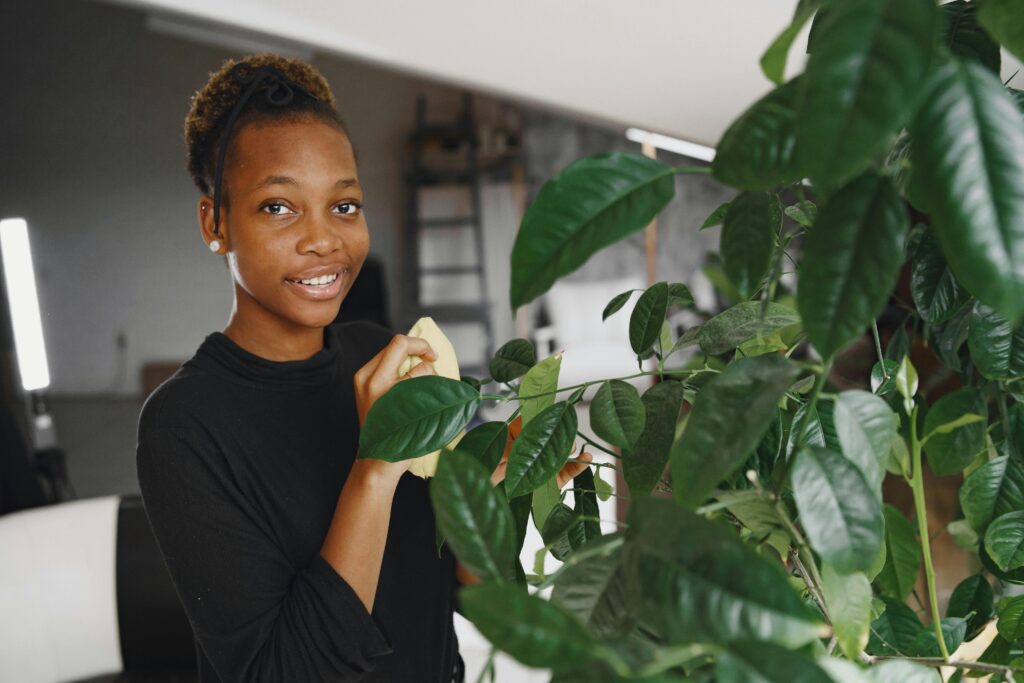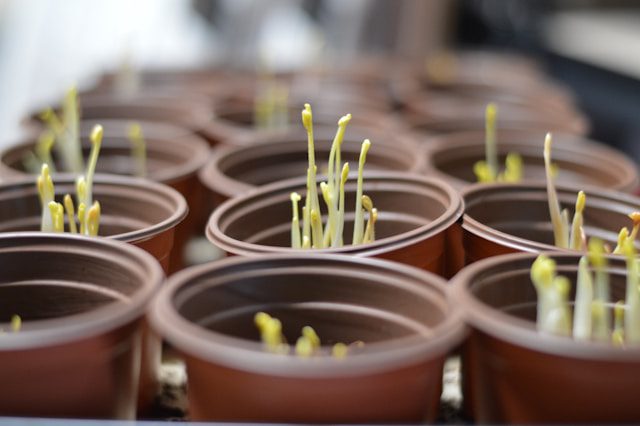
You notice the roots peeking out of the drainage holes. The soil dries out faster than it used to. Your once-lush plant looks a little cramped and unhappy. Sound familiar? If so, it is probably time to give your plant a new home. But here is the thing: knowing how to repot a plant correctly can mean the difference between a thriving, healthy plant and one that goes into shock and never quite recovers.
The good news? Repotting houseplants is a lot less scary than it sounds. With the right timing, the right tools, and a little patience, you can move your plant to a bigger pot without causing it any stress. This guide walks you through everything you need to know, step by step.
7 Expert Tips To Care For Lavender Plants In Pots
Signs a Plant Needs Repotting
Before you grab a shovel and a bigger pot, it is worth asking: does your plant actually need repotting right now? Not every plant needs to be moved every year. Here are the most common signs your plant is ready for a new home:
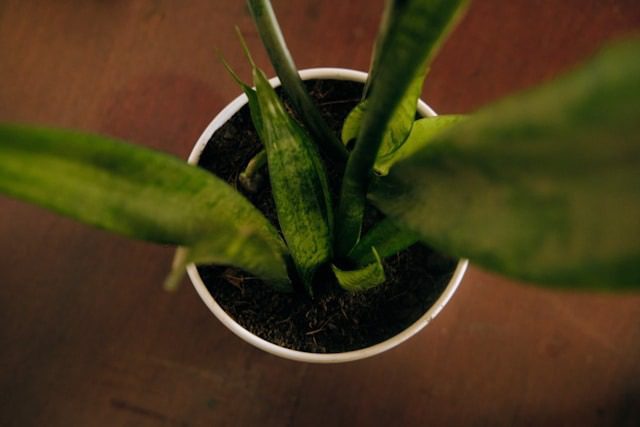
- Roots are growing out of the drainage holes or circling around the bottom of the pot
- The plant dries out extremely fast after watering
- You can see roots pushing up through the surface of the soil
- Growth has slowed down significantly despite good care
- The pot feels like it is about to crack or tip over from the weight of the plant
- The soil has become compacted and water runs straight through without absorbing
When Is the Best Time to Repot a Houseplant
Timing matters. The best time to repot a houseplant is during its active growing season, which is typically spring or early summer. During this period, the plant has the energy and momentum to recover quickly and push out new roots into the fresh soil.
Avoid repotting in the middle of winter when most houseplants are dormant. Transplanting a dormant plant puts unnecessary stress on it and slows down recovery. That said, if your plant is severely root-bound or showing signs of stress, it is better to repot at the wrong time than to leave it suffering in a pot it has outgrown.
How To Aerate The Soil In A Potted Plant
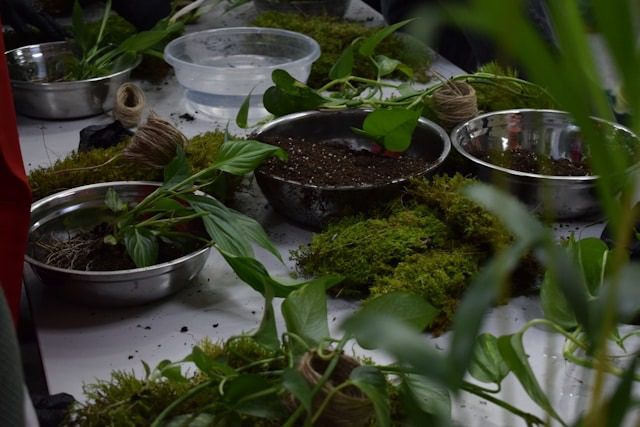
What You Need Before You Start
Getting everything ready before you begin makes the process much smoother. Here is what you will need:
- A new pot that is 1 to 2 inches larger in diameter than the current one
- Fresh potting mix suited to your specific plant type
- Gloves to protect your hands
- A trowel or small garden scoop
- A watering can
- Old newspaper or a tarp to catch the mess
A quick note on pot size: bigger is not always better. Choosing a pot that is too large can lead to overwatering issues because the excess soil holds moisture your plant cannot use, which can cause root rot. Stick to 1 to 2 inches larger and your plant will thank you.
How to Repot a Plant Step by Step
Now comes the main event. Follow these steps carefully and your plant will settle into its new pot with minimal stress.
Step 1: Water Your Plant a Day Before
Lightly water your plant the day before repotting. Moist soil holds together better and clings to the roots, which makes the transition gentler. Avoid repotting a bone-dry plant as dry roots are fragile and more likely to break.
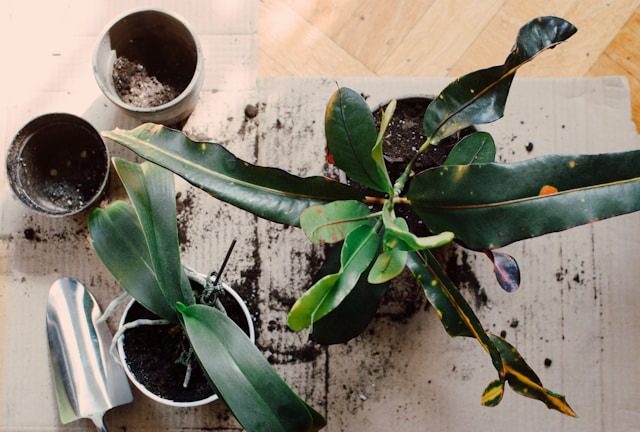
Step 2: Gently Remove the Plant From Its Current Pot
Tilt the pot on its side and gently squeeze the sides if it is plastic. Support the base of the plant with one hand and ease it out. Never yank it by the stem. If the plant is really stuck, run a dull knife around the inside edge of the pot to loosen the root ball.
Step 3: Inspect and Loosen the Roots
Once the plant is out, gently shake off the old soil and use your fingers to loosen the root ball. Look for any brown, mushy, or dead roots and trim them off with clean scissors or pruning shears. Healthy roots should be white or light tan and firm to the touch. If you spot signs of root rot, remove all affected sections before repotting.
Step 4: Add Fresh Soil to the New Pot
Add a layer of fresh potting mix to the bottom of the new pot. Make sure you are using the right type of soil for your plant. Succulents need a well-draining sandy mix, while tropical houseplants prefer a rich, moisture-retaining soil. Using the wrong soil is one of the most common repotting mistakes people make.
Step 5: Place the Plant and Fill In the Sides
Set the plant in the center of the new pot. The top of the root ball should sit about an inch below the rim of the pot to allow space for watering. Fill in the sides with fresh soil and gently press it down to eliminate any air pockets. Do not pack it too tightly though as roots need oxygen to breathe.
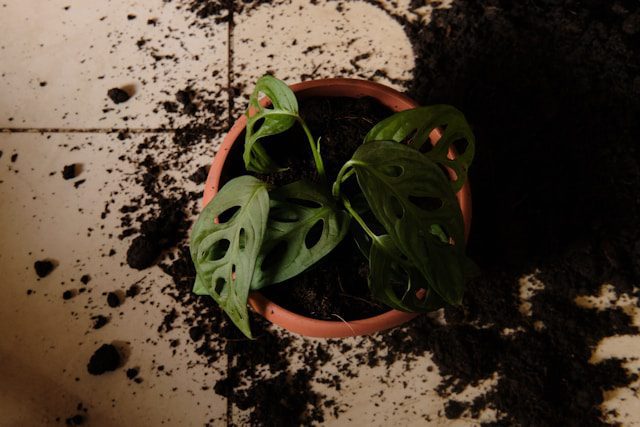
Step 6: Water Thoroughly and Find a Good Spot
Give your newly repotted plant a thorough watering until water drains from the bottom. This helps the soil settle and ensures the roots make contact with the new soil. After watering, place the plant in a bright spot away from direct sunlight for a week or two while it acclimatizes.
How To Identify Root Rot In Succulents
Plant Care After Repotting
The first few weeks after repotting are critical. Here is what to do to keep your plant happy during the adjustment period:
- Avoid fertilizing for at least four to six weeks as fresh potting mix already contains nutrients and over-feeding a stressed plant can burn the roots
- Keep the plant out of intense direct sunlight initially to reduce stress
- Water only when the top inch of soil is dry, do not overwater
- Do not be alarmed if your plant drops a few leaves or looks a little droopy at first, this is a normal part of transplant adjustment
- Keep an eye out for pests since repotting can sometimes stir up soil-dwelling bugs
Most healthy plants bounce back within two to four weeks. Once you see new growth appearing, that is a great sign that your plant has settled in and is ready to thrive.
How To Care For Domino Peace Lily.
How Often Should You Repot Indoor Plants
Most houseplants benefit from repotting every one to two years. Fast-growing plants like pothos or peace lilies may need repotting every year, while slow growers like snake plants or cacti can go two to three years between repotting sessions.
Rather than sticking to a strict schedule, let the plant tell you when it is ready. The signs we covered earlier like overcrowded roots and rapid drying are your best guide.
How Many Lumens do Plants Need?
Frequently Asked Questions
How do you know when a plant needs repotting?
The most obvious sign is roots growing out of the drainage holes or circling the bottom of the pot. Other indicators include soil drying out unusually fast, stunted growth, and a pot that feels like it might crack from the pressure of the root ball.
Can you repot a plant while it is flowering?
It is generally best to wait until after a plant has finished flowering before repotting. Moving a flowering plant can cause stress that leads to premature flower drop. If the plant is severely root-bound and cannot wait, repot carefully and keep the disturbance to a minimum.
What soil should I use when repotting indoor plants?
The best soil depends on the plant type. Most tropical houseplants do well in a quality all-purpose potting mix. Succulents and cacti need a sandy, fast-draining mix. Orchids require a specialized bark-based medium. Using the wrong soil can trap too much moisture or not enough, both of which harm the plant.
How do you repot a plant with root rot?
If your plant has root rot, remove it from its pot and gently shake off all the old soil. Trim every brown, mushy, or foul-smelling root with clean scissors. Let the remaining roots air dry briefly, then repot into fresh, well-draining soil. Going forward, water less frequently and ensure the new pot has good drainage.
How long does it take for a plant to recover after repotting?
Most plants recover from repotting within two to four weeks. You may notice some drooping or leaf drop initially, which is normal transplant shock. Once you see new leaf growth emerging, that is a clear sign your plant has successfully adjusted to its new environment.